Navigation
You can let myTracks navigate along a recorded track or imported route. However, myTracks is not a complete navigation solution because myTracks does not automatically calculate routes.
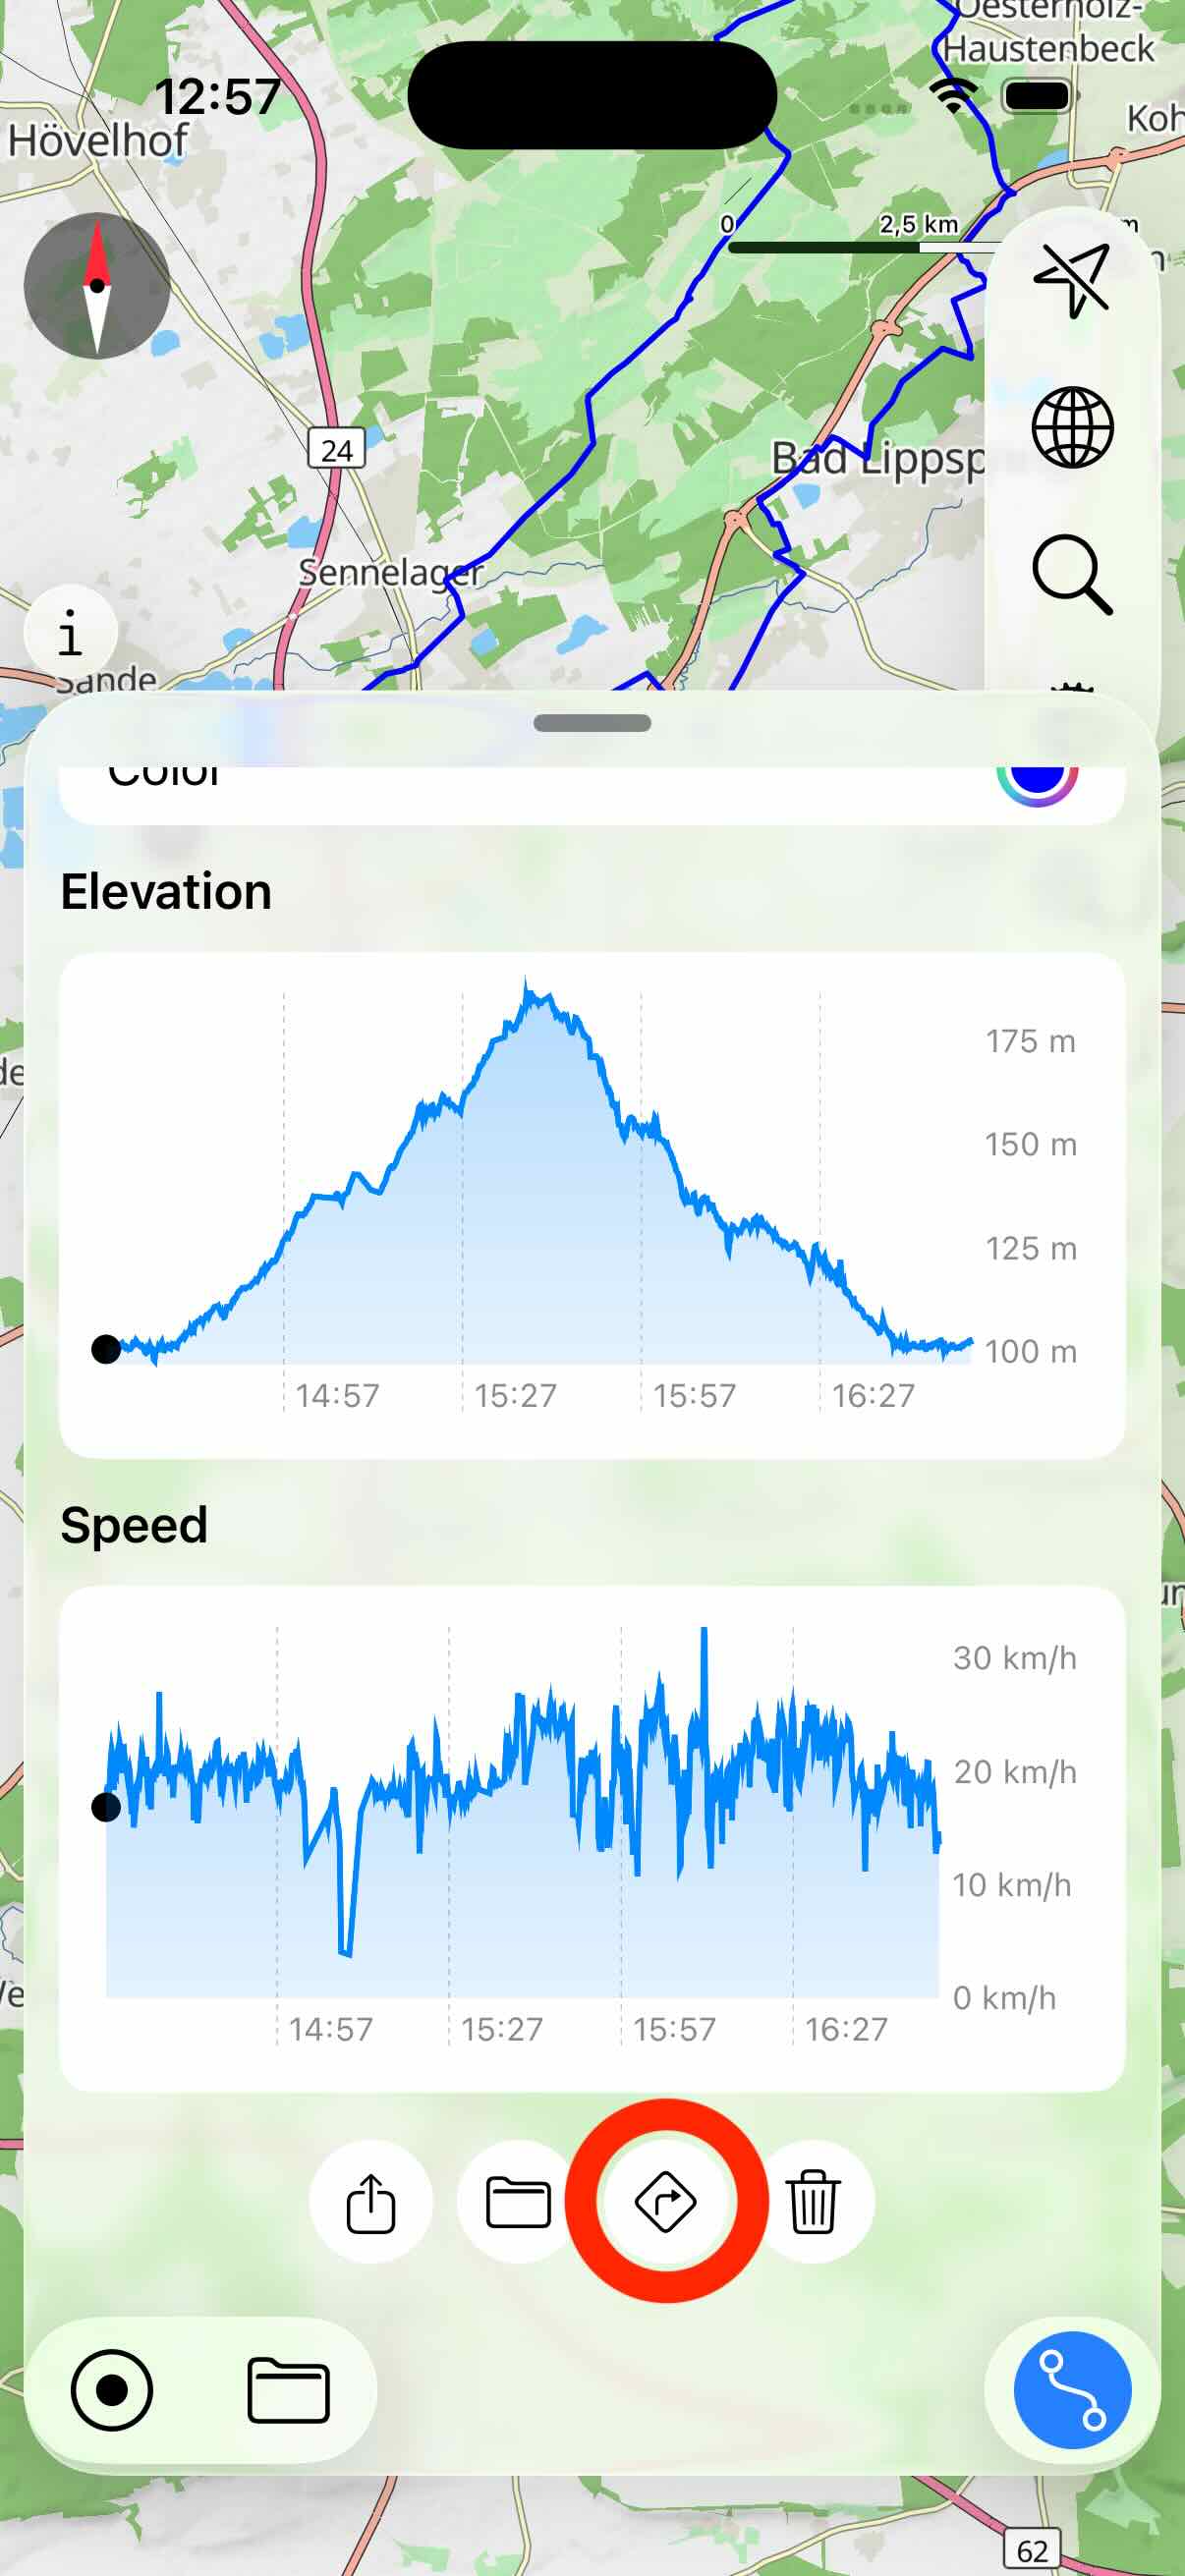
To start navigation, first open the corresponding GPS track or route. In the details view scroll to the end and tap the navigation button:
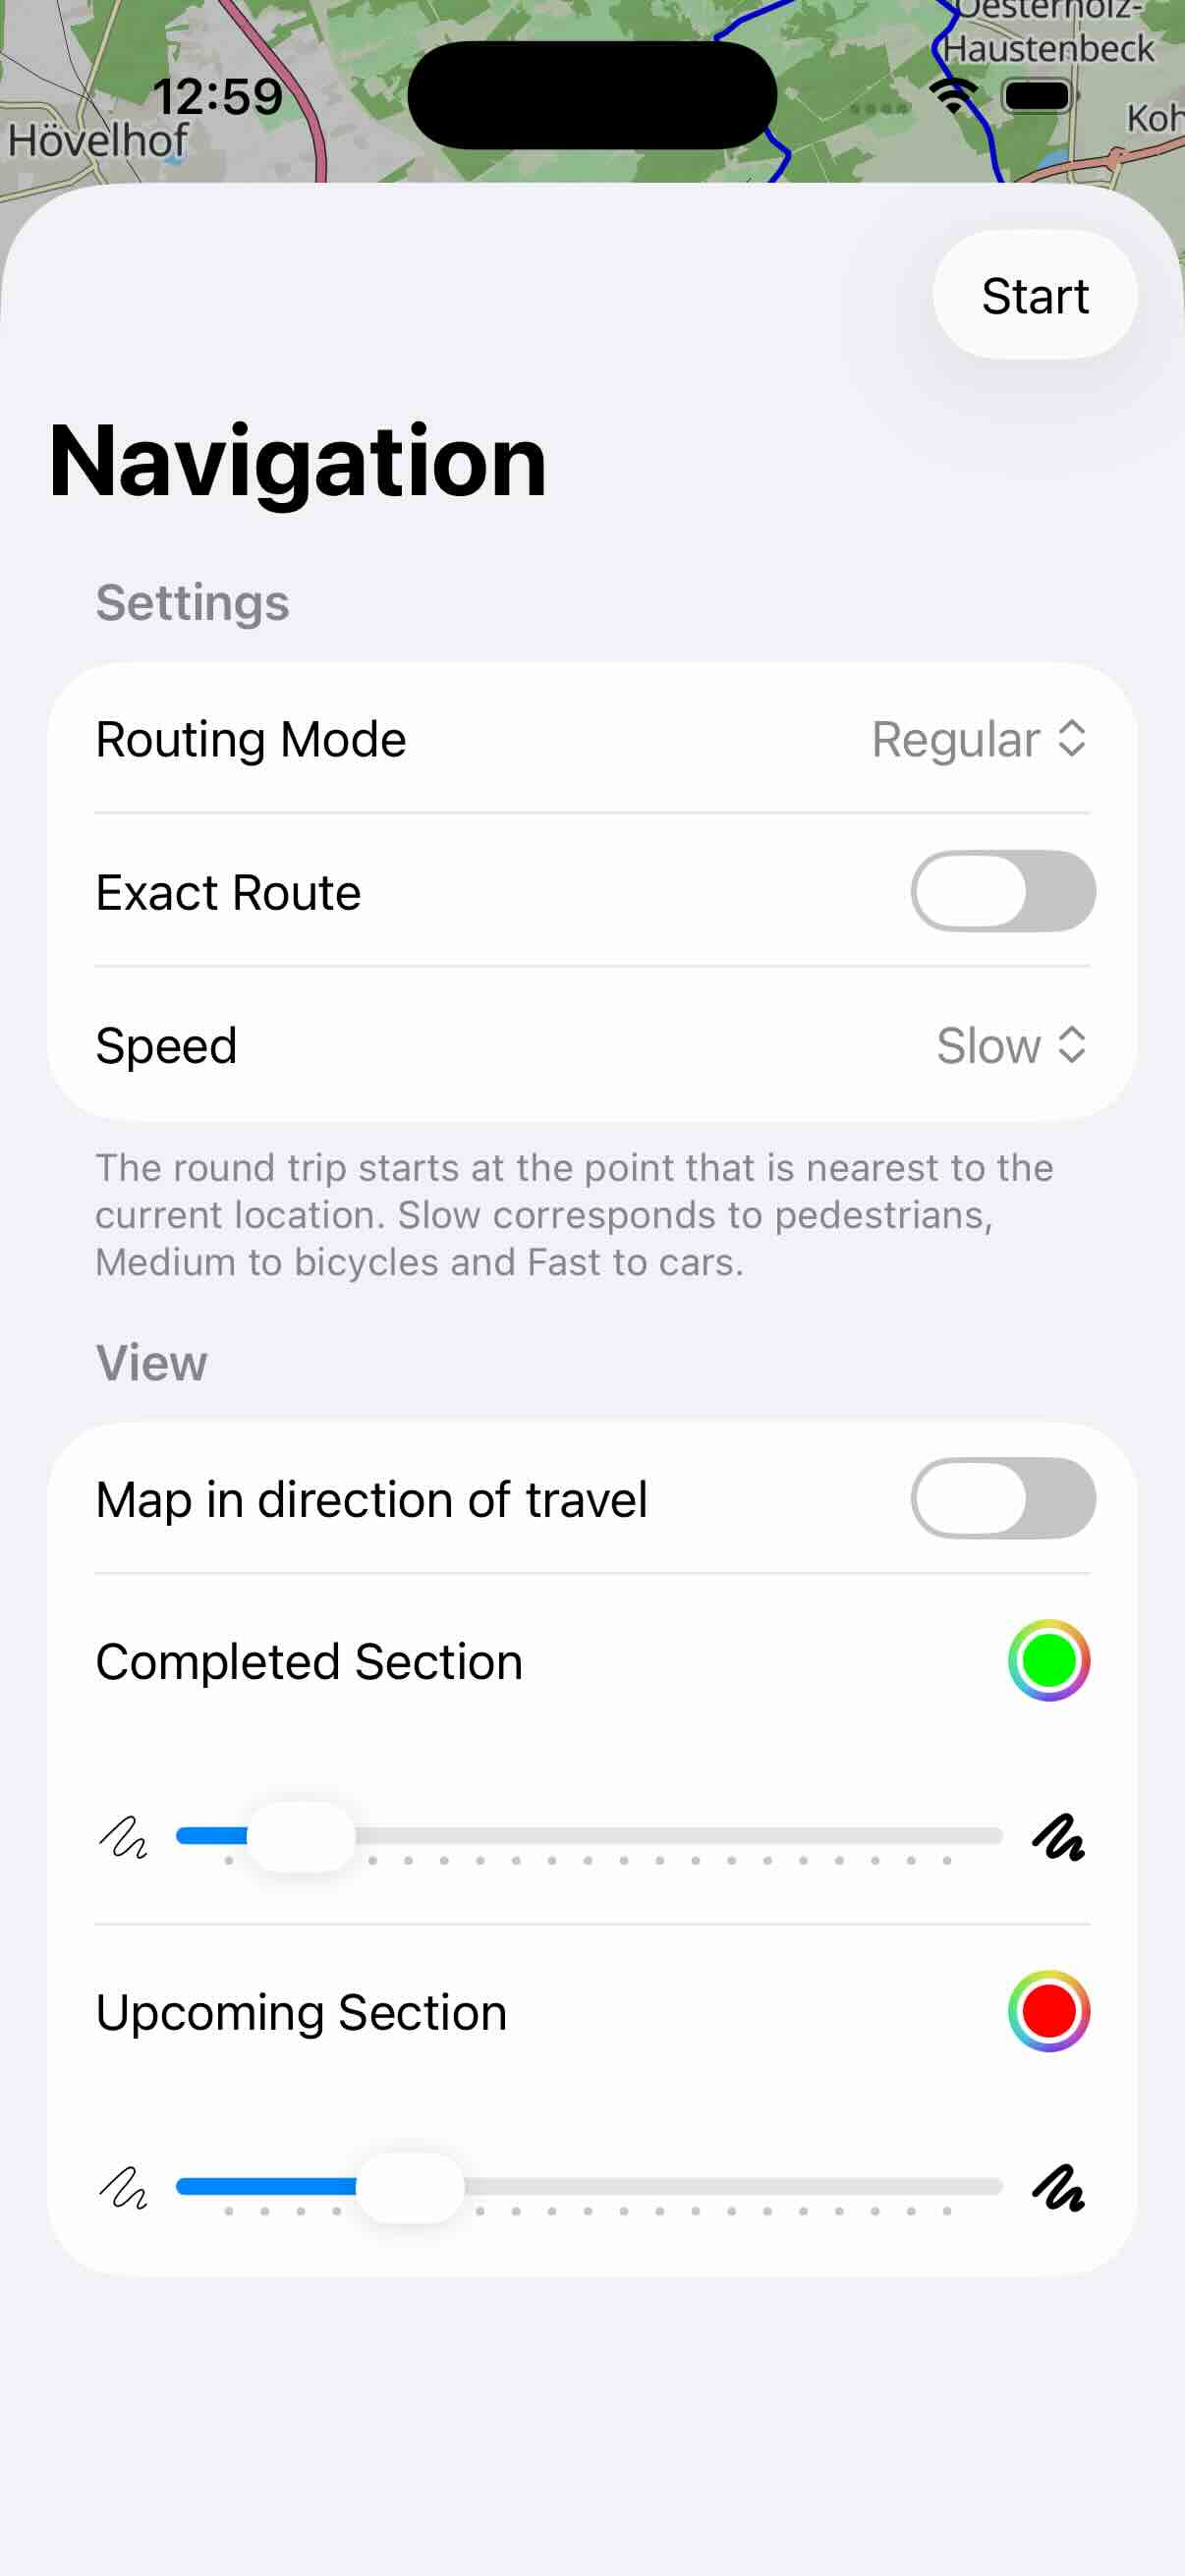
The following route modes are available:
- Regular: Navigate in the original direction along the route.
- Reverse: Navigation starts in this mode at the end of the original route.
- Round Trip (Regular): If the route is a circular route, then you can use this mode. First, the nearest point of the route is determined based on your current location. This serves as a starting point. From there you navigate along the original direction.
- Round Trip (Reverse): In this mode, the nearest point is also determined first. From there, the navigation takes place in the opposite direction.
If you activate the Exact Route option, you can not use shortcuts. If the option is not activated and you leave the route once and then return to another part of the route, navigation will simply continue there.
The Speed setting helps myTracks display hints for turning. The setting Slow should be used for walking or cycling. Medium and Fast are useful, for example, for car rides.
In the view section of the settings screen you can configure whether the map automatically rotates into the direction you are travelling. Additionally, you can configure the color and width of the section you already completed and the section that is upcoming. Tap the Start button in the upper right corner to start the navigation.
During the navigation, a navigation view shows up in the lower part. You can enable and disable the view by tapping the routing button in the lower right corner.
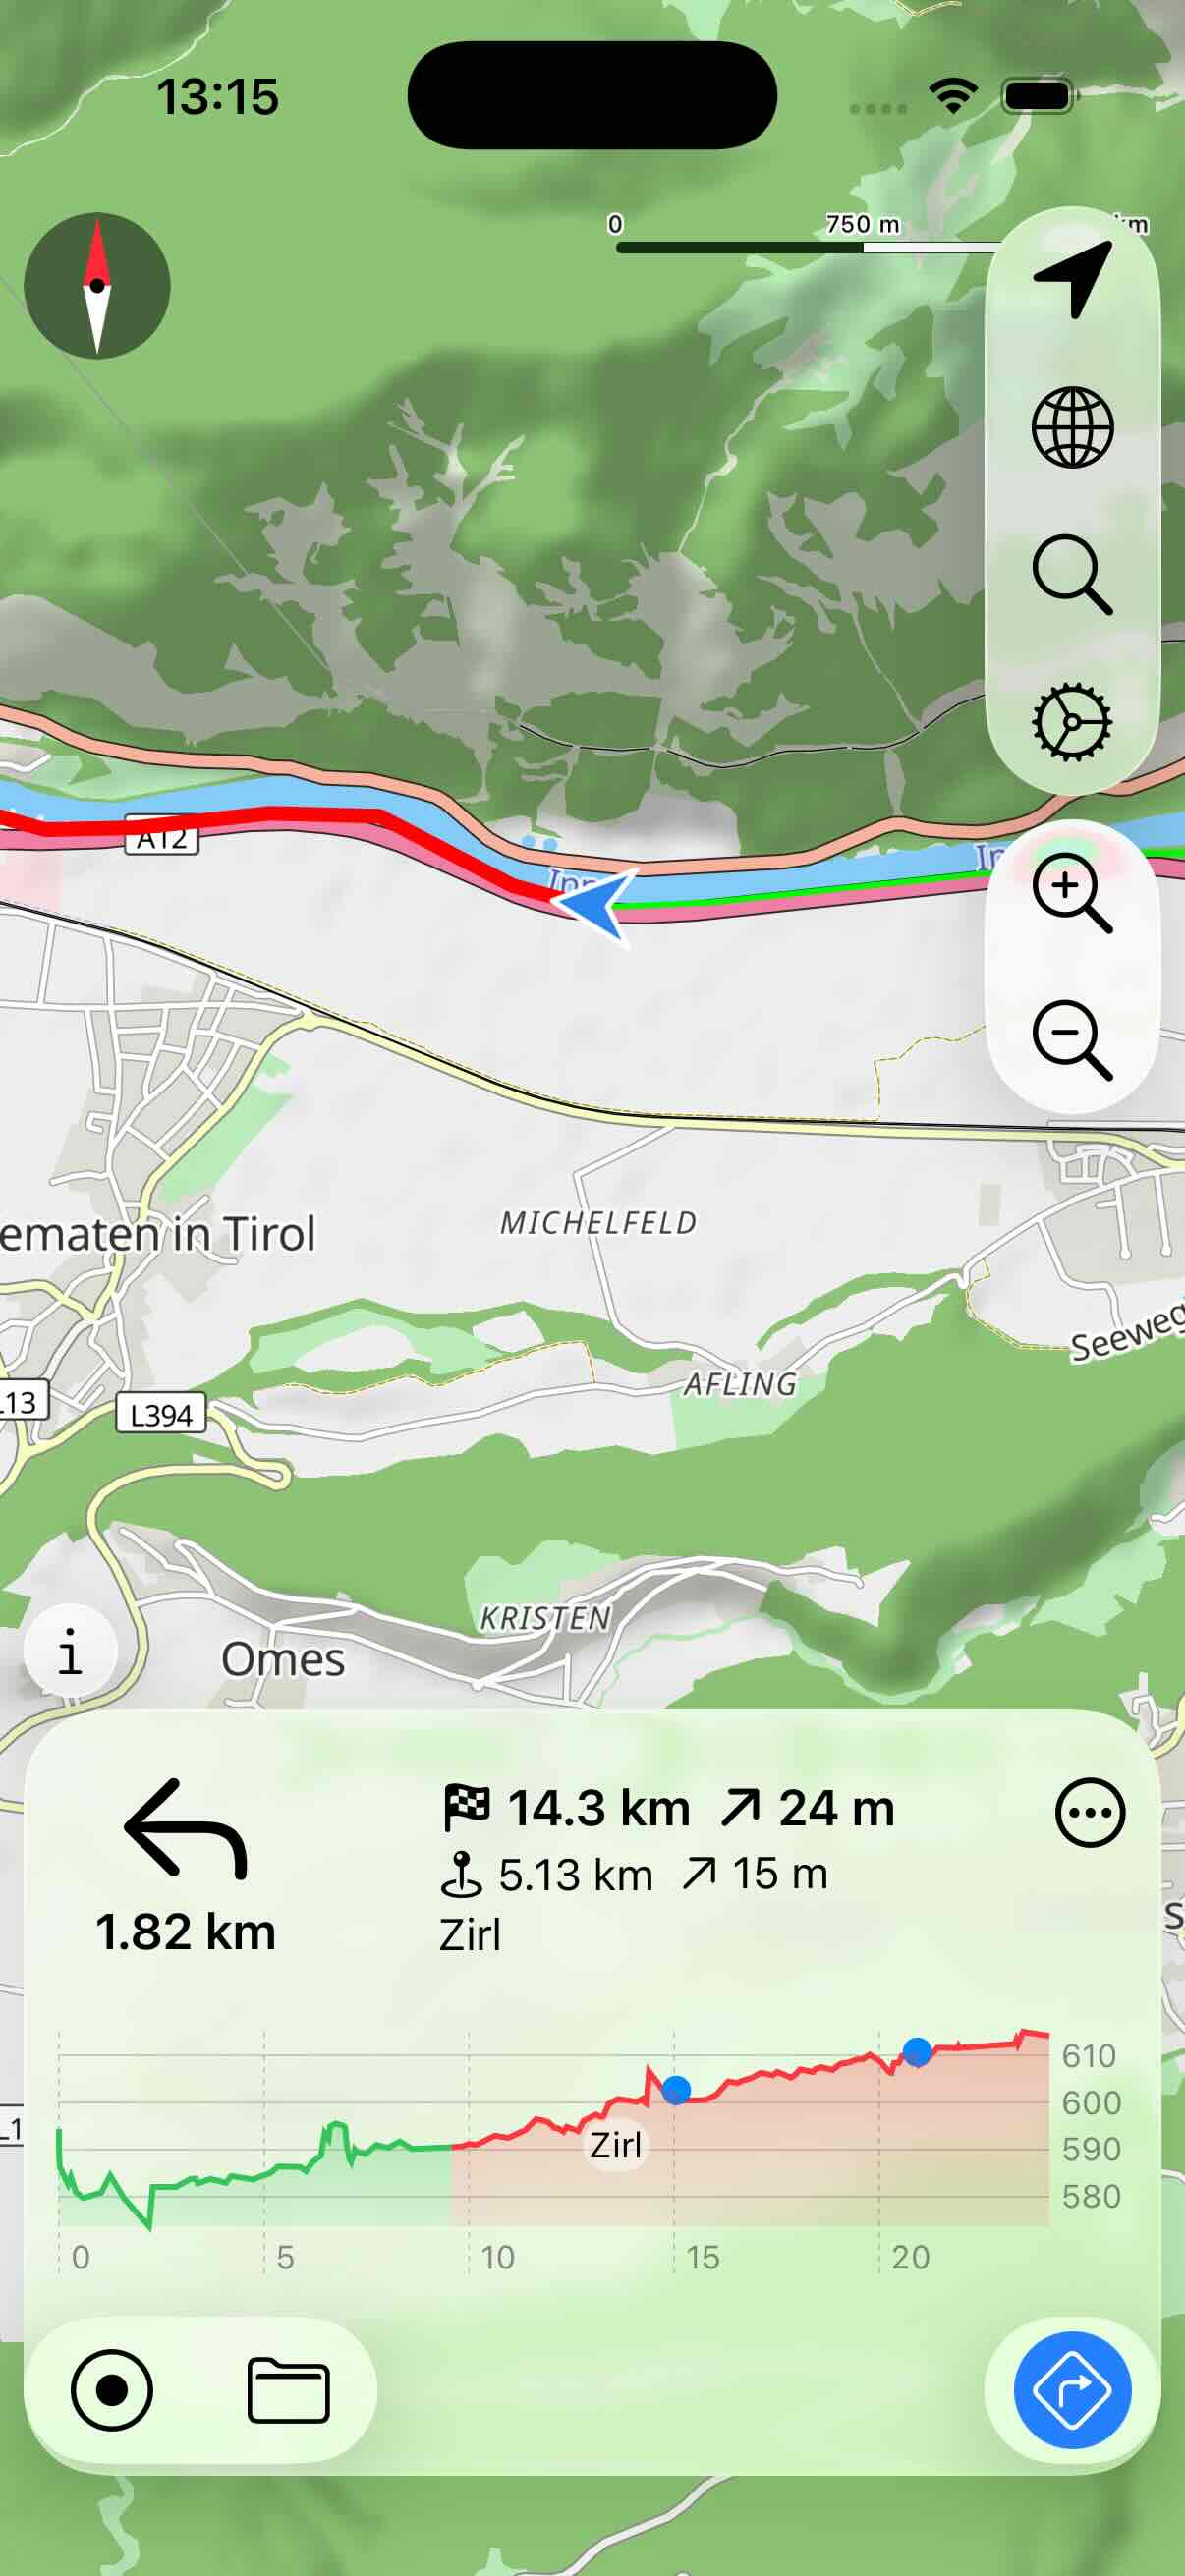
- In the upper left corner of the navigation view the next turn incl. the distance is shown.
- The top line of text shows the distance to the destination, including the remaining elevation gain.
- If the route contains waypoints, then the second line of text shows the distance and elevation gain to the next waypoint.
The lower part of the view shows the elevation profile. The section already completed is shown in green, the section still to be completed in red. Waypoints yet to be reached are also shown in the profile.
Using the button in the upper right corner you can open a menu:
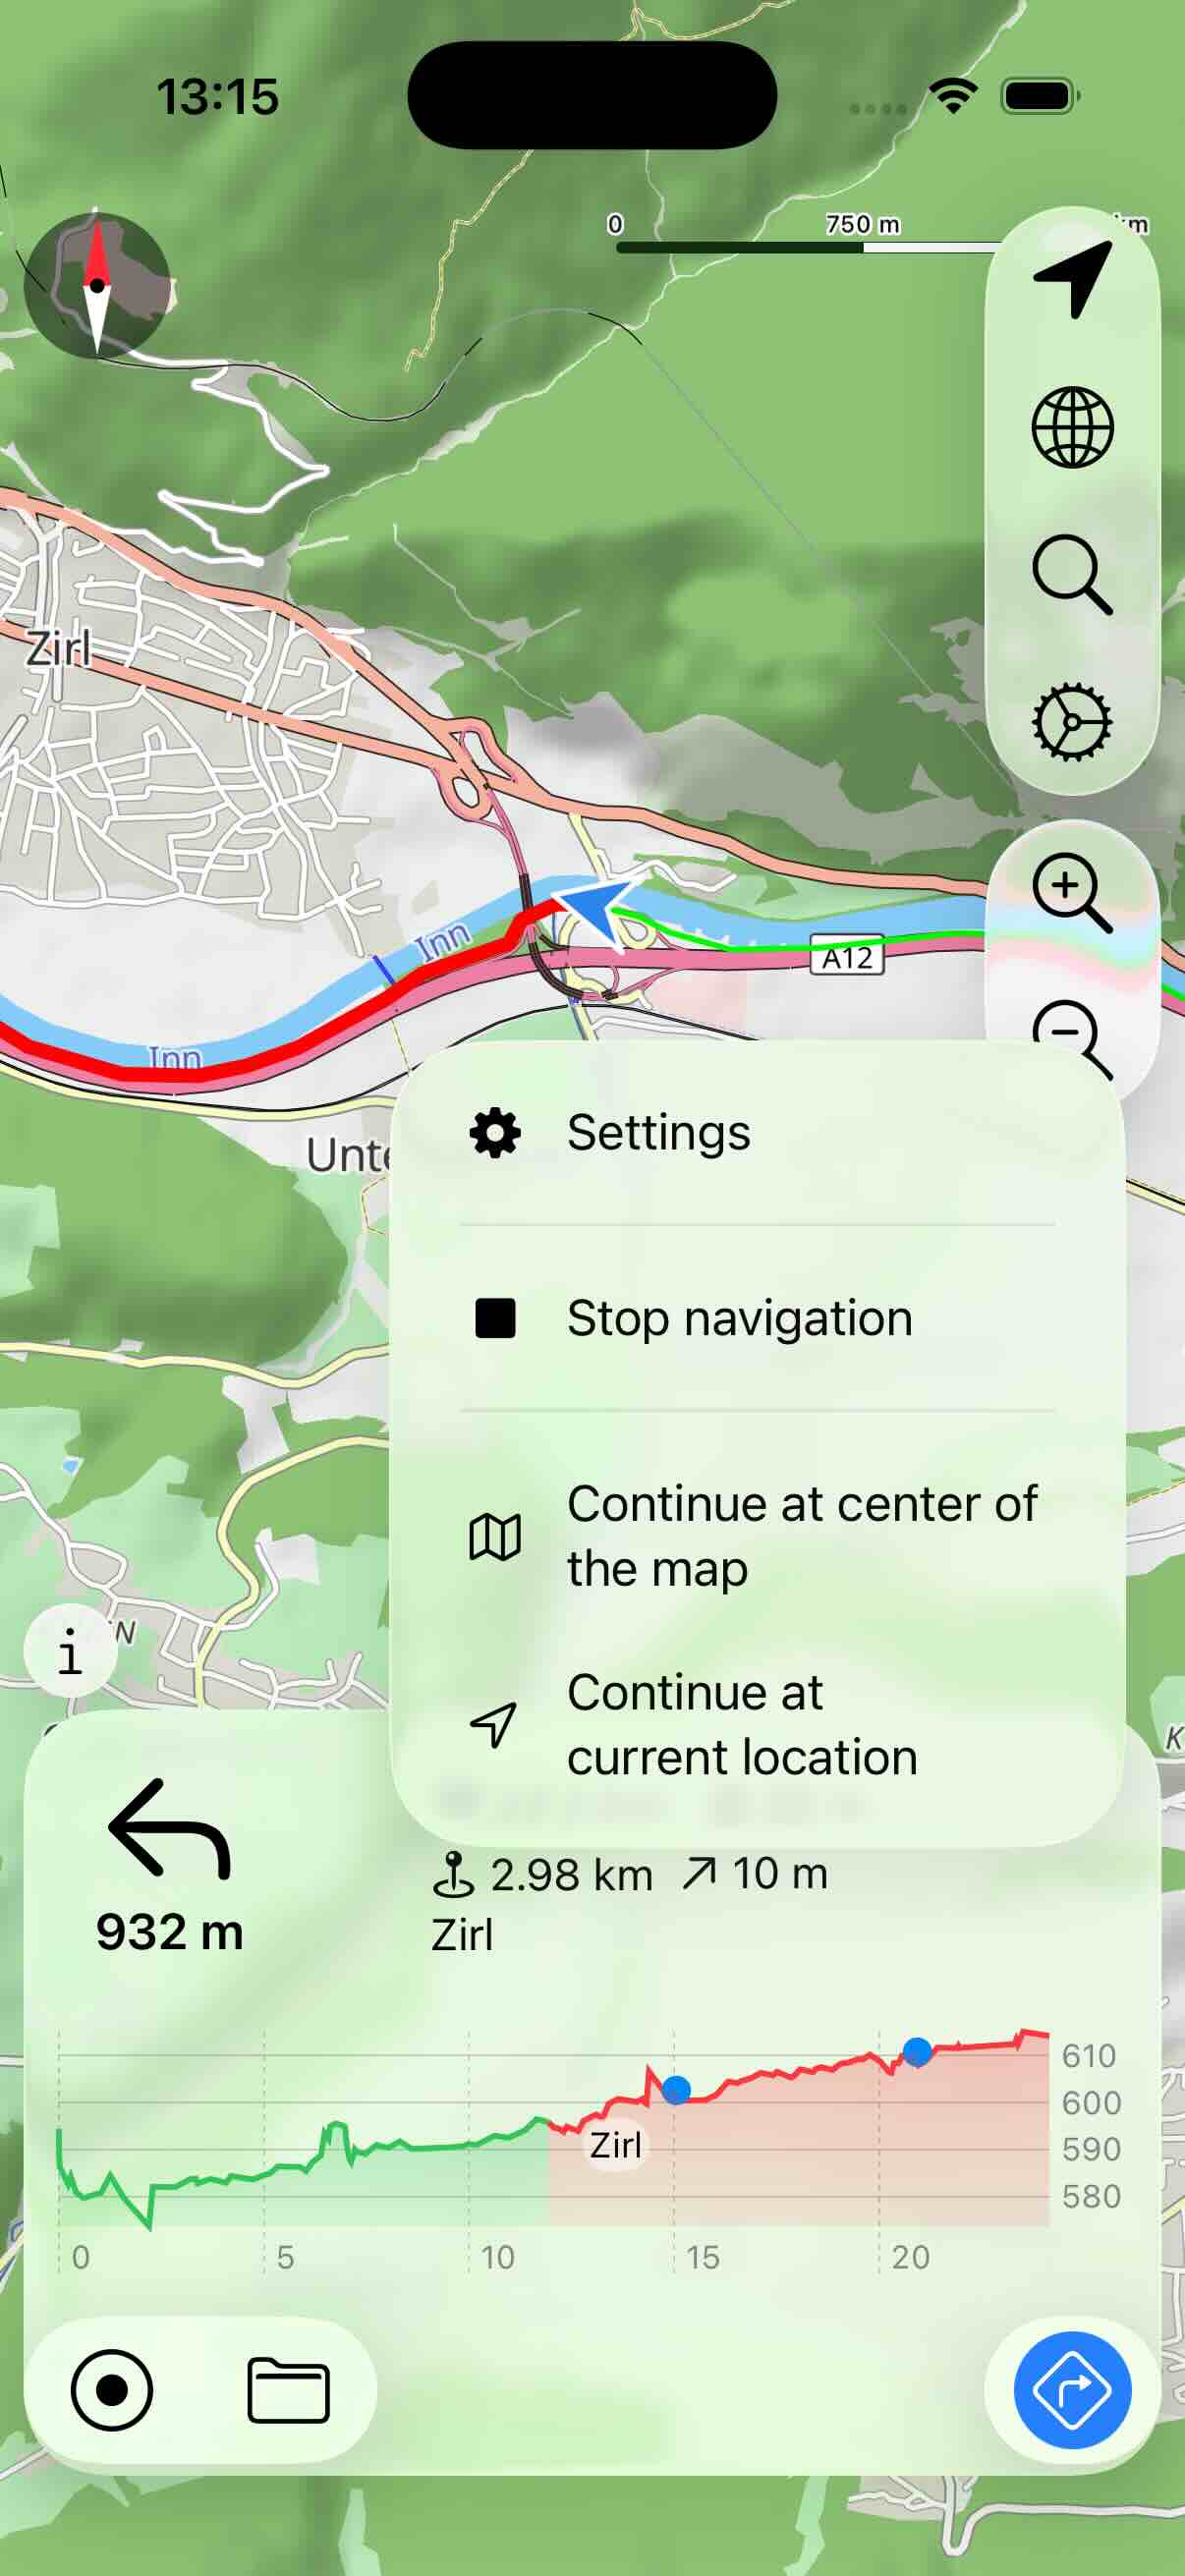
- Settings: Opens the settings dialog. You can use it to re-configure the navigation.
- Stop navigation: Ends the navigation.
- Continue at center of map: If you have left the route then you can set the next navigation point to the point nearest to the center of the map.
- Continue at current location: If you have left the route then you can set the next navigation point to the point nearest to your current location.
Note: The navigation instructions are currently only shown on the display. In particular, there are currently no voice prompts, for example.